
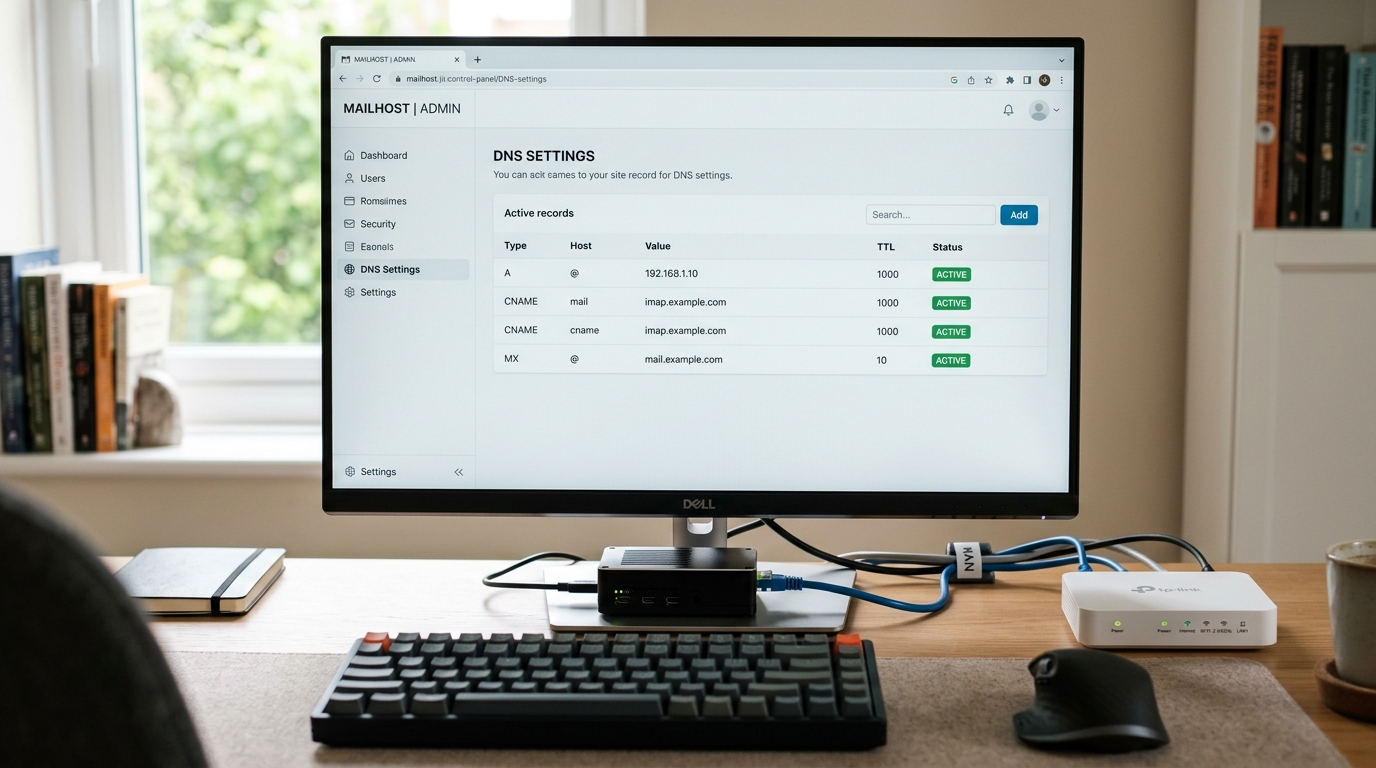
The appeal of self-hosted email makes sense. You keep your data on your own hardware. Nobody reads your inbox to build an advertising profile. You control your domain and addresses completely.
Hosting your own mail is entirely achievable at zero ongoing cost. We will walk through exactly how to do that below. But you should know up front that self-hosting email is a commitment.
Running an email server means you are responsible for it. You have to back up the data. You have to keep the software updated. You have to monitor DMARC reports to make sure your mail is actually reaching people instead of landing in spam folders. It is a real system administration job.
For some people, that level of control is exactly what they want. For others, it sounds like a lot of ongoing work. If you fall into the second group, there is an alternative.
If you want privacy but do not want the commitment of running a server, you should look at Proton Mail.
They offer end-to-end encrypted email hosted in Switzerland. You get the privacy benefits of an inbox that nobody else can read, without having to configure DNS records or worry about uptime. They even offer custom domain support so you can keep a professional address.
If you are ready for the commitment of self-hosting, let's look at how to build the stack.
- A homelab server running Linux (Ubuntu 22.04 or newer) with at least 6GB RAM and 20GB of free disk space.
- Docker and Docker Compose installed on that server.
- A domain name you control, using Cloudflare for DNS (which is free).
- A free Brevo account. You get 300 outbound emails per day with no credit card required.
- Basic comfort with SSH and editing text files.
We will not use a paid VPS or any ongoing subscriptions.
You cannot self-host outbound email delivery on a normal residential internet connection. Most ISPs block port 25. That is the port mail servers use to talk to each other.
To get around this, we split inbound and outbound mail.
Inbound routing:
Internet -> Cloudflare Email Routing -> Cloudflare Tunnel -> mailcow on your server
Outbound routing:
mailcow on your server -> Brevo SMTP relay -> Internet
Cloudflare handles the inbound mail on port 25 and passes it to your server through a tunnel. Brevo handles the outbound mail. Your server connects to Brevo on port 587, which ISPs do not block.
At the center of this is mailcow. It is a bundle of Docker containers that includes Postfix for routing, Dovecot for IMAP access, Roundcube for webmail, and rspamd for filtering spam.
Clone the mailcow repository to your server. The project recommends /opt/mailcow-dockerized as the install location.
Run the included setup script. It will ask for your mail hostname. You should use mail.yourdomain.com and set your timezone. The script generates a configuration file.
Open the generated config file before starting the stack. The main setting to check is Let's Encrypt. If you use Cloudflare Tunnel for access, you can disable Let's Encrypt and let Cloudflare handle the SSL certificates. If you plan to expose mailcow directly to the internet, leave Let's Encrypt enabled.
Start the stack with Docker Compose. The first startup takes a few minutes while the containers initialize. Once everything is running, go to the mailcow admin interface. The default credentials are in the mailcow documentation. Change them immediately.
Add a DNS record for mail.yourdomain.com pointing to your Cloudflare Tunnel endpoint. Set this record to "DNS Only" (the grey cloud icon). Cloudflare's HTTP proxy breaks email protocols because they need direct TCP connections.
Next, enable Cloudflare Email Routing in your dashboard. Cloudflare will automatically add the required MX records. Create a forwarding rule that points your address to the mailcow mailbox.
You also need to set up authentication records so your mail does not get marked as spam.
Add a TXT record for SPF at your domain root authorizing Brevo's sending infrastructure.
Brevo will give you a DKIM key in their dashboard under Senders & IP -> Domains. Add this as a TXT record at the subdomain they specify. This cryptographically signs your outbound mail.
Finally, add a DMARC record. This tells receiving servers what to do with mail that fails the SPF and DKIM checks.
p=none). After two weeks of clean delivery, change it to p=quarantine, and eventually p=reject. Jumping straight to reject will cause your own mail to bounce.p=none). After two weeks of clean delivery, change it to p=quarantine, and eventually p=reject. Jumping straight to reject will cause your own mail to bounce.Create a free Brevo account. Go to Senders & IP -> Domains and add your domain. Brevo will ask you to verify the DNS records you added in the previous step.
In the mailcow admin interface, go to Configuration -> Routing. Add a sender-dependent transport for your domain. Point it to Brevo's SMTP relay server using the credentials from your Brevo dashboard. This tells Postfix to hand all outbound mail to Brevo.
Restart the Postfix container so the changes take effect.
While you are in the Brevo dashboard, turn off link tracking. By default, Brevo rewrites links in your emails to track clicks. You probably do not want this for personal mail.
Go back to the mailcow admin interface.
Add your domain under Configuration -> Mail Setup -> Domains.
Create a mailbox for your address under Configuration -> Mail Setup -> Mailboxes. Set a strong password. You will use this password to log in to webmail and connect your phone.
Open mail.yourdomain.com in a browser. You should see the Roundcube webmail login screen. Sign in with your full email address and the password you just created.
Cloudflare Tunnel creates an encrypted connection from your server to Cloudflare's network. This means your home IP address stays hidden and you do not need to open any inbound ports on your router.
Install the cloudflared package on your server. Authenticate it with your Cloudflare account and create a named tunnel. Configure the tunnel to route mail.yourdomain.com traffic to your local mailcow instance over HTTPS. Install the tunnel as a system service so it starts automatically when the server reboots.
For Android, FairEmail and Thunderbird are solid options. On iOS, the built-in Mail app works fine.
Use these settings for incoming mail (IMAP):
- Server:
mail.yourdomain.com - Port: 993
- Security: SSL/TLS
- Username: your full email address
- Password: your mailbox password
Use these settings for outgoing mail (SMTP):
- Server:
smtp-relay.brevo.com - Port: 587
- Security: STARTTLS
- Username: your Brevo account email
- Password: your Brevo SMTP key
Notice that outbound mail goes directly from your phone to Brevo. It bypasses your home server completely. This keeps your outbound mail relying on Brevo's IP reputation rather than your home connection.
Running this stack requires ongoing attention.
Back up your mail data regularly. The mailcow system stores everything in a Docker volume directory. You can set up a script to copy that directory to an external drive. If you lose a drive without a backup, your entire email history is gone.
Keep mailcow updated. Running an outdated mail server is a security risk. The project developers document the update process clearly.
Watch those DMARC reports. You will receive XML reports showing what mail is being sent on behalf of your domain. Use a tool like MXToolbox's DMARC analyzer to make sense of them.
Self-hosting gives you a private inbox. Your stored mail lives on your hardware. Nobody is scanning your messages to serve you ads.
But there are limits. Brevo sees your outbound mail in transit. Every message passes through their servers in plaintext. They do not have an ad business, but they do have technical access to the content. This is the tradeoff of using any SMTP relay.
Your recipients' mail providers see everything too. If you email someone on Gmail or Outlook, those servers receive and store your message. You cannot fix the other end of the connection.
This brings us back to the start. Self-hosting solves the problem of a private inbox, but it requires a commitment of time and energy to maintain. If you want the privacy benefits without the maintenance, a service like Proton Mail is the easiest way to get there.

Hi, I'm Justin, an IT consultant and open-source advocate. I specialize in building robust self-hosted infrastructure, developing tools and exploring AI-driven workflows. I write about deploying solutions to common issues, the occasional hardware failure, and everything I learn along the way.